I’m Michael Riha, a Solutions Architect with Bitmovin. I wrote this guide to make it easy and save you time implementing Android TV apps using the Bitmovin Player SDK.
A couple of months ago I had to build a prototype to showcase our capabilities on an old Android TV device with a rather old version of the Android operating system, v6 Marshmallow.
I hadn’t done any Android development since 2011, so I used this as an opportunity to write this guide to help anyone with even basic Android development experience get started. This took me a few hours to implement on my own, so hopefully my guide below combined with our code samples can get you started much faster! (And if you’ve made an existing Android app for video playback it will probably be even easier, after all Google claims that you can “bring your Android app to Android TV in minutes!”)
What are we building?
We’re making a simple Android TV proof of concept app. You’ll need some source video assets, basic experience using Android Studio installed on your preferred development machine, and an active or trial license of the Bitmovin player to complete the full guide.
Why Android TV?
We’ve seen a recent trend of TV manufacturers and operators like Sony, Mi-Box and AT&T adopting Android as their base operating system for Smart TVs and set top boxes. Features such as access to the Google Play Store and rich video playback capabilities with 4K and HDR have helped Android dominate the global Smart TV operating system, with market share over 40% per a recent report from IHS.
Unlike other popular Smart TV OS providers, Google has greatly simplified development for TVs by simply extending their existing mobile operating system for television sets and adapting the user interface for a remote input thereby consolidating towards a single development platform that can target various mobile and television screens regardless of touch or remote inputs.
Given the broad reach of the platform and the relative ease of development, this presents a perfect opportunity for developers and content owners to quickly re-purpose their Android Mobile player SDKs and apps for Android TV development, allowing them to reach more target devices and acquire audiences across new screens with little to no additional effort.
Bitmovin Support for Android and Android TV
Bitmovin has provided an Android Player SDK for a few years now. Since its debut in 2017 with basic MPEG-DASH and HLS playback capabilities, we have come a long way to add more premium out-of-the-box features like advertising, analytics integrations, DRM support, Chromecast support, VR playback, `CustomUI` and much more to stay ahead of modern streaming needs.
More importantly, we are obsessed with performance and know how important it is for our customers and end users to have a really good playback experience. For this reason, we provide advanced video playback optimization features such as fully customizable ABR logic, multi-codec streaming, offline playback and much more all included in the robust player SDKs and unified Player APIs so developers can quickly and easily deploy media apps for any and all Android OS supported platforms.
Our full list of sample code and quick start guides can be found here:
https://github.com/bitmovin/bitmovin-player-android-samples
Unlike many of our competitors, we support a complete native player implementation and do not use an HTML5 player with a WebView for video playback in our Android SDKs. However, we do support common JavaScript APIs for skin customizations and third party integrations to simplify development, optimize playback performance and leverage other benefits of the hardware media decoding capabilities through what we call a “hybrid approach” as detailed in our post on HTML5 vs. hybrid vs. native Apps.
Getting Started with Android TV
It has been a few years since I developed an Android TV application, so it was time for a refresher of the Android TV basics. I think these notes would have saved me a lot of time getting started, so I had to share! (Skip this section if you’re already familiar with Android TV and just want the quick player SDK implementation guide.)
If you are building an app that operates both on TV and other devices, you will need to first check what kind of device your app is running on and accordingly adjust the operation of your app.
The recommended way to determine if your app is running on a TV device is to use the
https://developer.android.com/training/tv/start/hardware
Probably the hardest part about the video player for someone coming from a web or mobile background is handling user interactions via various controllers (remote or console) depending on what hardware the TV or set top box vendor may offer as there is no touchscreen like phones for Android TVs, at least for now.
Not to worry, Bitmovin already offers default user interfaces for phones, TVs and Chromecast which can be used as-is or easily modified to support a full range of customizations. The native Bitmovin Android Player SDK itself uses a WebView on top of the video player to offer maximum compatibility and convenience for developers to reuse CSS and JavaScript based interfaces with few quick tweaks.
This means we can use one interface to rule all the devices!
The Bitmovin Adaptive Streaming Player UI is open source and can be found here. https://github.com/bitmovin/bitmovin-player-ui
Meet the D-Pad


While the graphical user interface is easy to show and use remember we do not have a touchscreen! Instead we have another input called the directional pad, or D-pad.
The primary navigation method on Android TV is the D-pad, offering basic movement up, down, left, and right via directional hardware buttons. Next to the navigation buttons most remotes also have Select, Back and Home buttons.
In addition to the D-pad, the end user can also plug in gamepads or even standard keyboards to the device via USB, but I wanted to make my life easy at the beginning so I just supported D-pad inputs.
For my sample project we did end up supporting keyboards at a later stage, but let’s leave that for another day.
Add a TV Activity
Android system initiates code in an Activity instance by invoking specific callback methods that correspond to specific stages of its lifecycle. Most basic interactions with the player i.e. Play, Pause and Seeking can be implemented directly in an Activity.
If you already have an Android app, you can add Android TV support quickly by reusing your existing app architecture. For this purpose, there are two main components you should use to create an app that runs on TV devices:
- Activity for TV (Required) – In your application manifest, declare an activity that is intended to run on TV devices.
- TV Support Libraries (Optional) – There are several support libraries available for TV devices that provide widgets for building user interfaces.
https://developer.android.com/training/tv/start/start
The official documentation shows how two activities can run side by side and in this example, the TvActivity is the entry point for your AndroidTV app.
Let’s Start Using the Player SDK
If you are already familiar with the Android native player, the Bitmovin Android Player SDK works out of the box in just a few minutes.
If this your first time implementing video playback on Android, we have you covered! Take a look at BasicPlayback-Example or BasicPlaybackTV-Example from the Bitmovin Android Player SDK sample repository. Simply clone and select the appropriate example from here:
https://github.com/bitmovin/bitmovin-player-android-samples/tree/master/BasicPlaybackTV
You’ll need to add your Bitmovin Player license key inside the application tag in the manifest file as shown below. YOUR_LICENSE_KEY has to be replaced by your own license key, obtained through a paid or free trial account.
Next, log in to https://dashboard.bitmovin.com and add the following package names of the sample applications as allowed domains under Player -> Licenses.
Optionally, if you want to just start from scratch without any blueprint, follow these eight simple steps from our repository on how to use the Bitmovin Android Player SDK:
https://github.com/bitmovin/bitmovin-player-android-samples#using-the-bitmovin-player-android-sdk
How To: Android Layout & User Interface
Now that we have our Android TV application running in minutes, let’s dig into some details, tips and tricks that I can tell you from playing around with the Bitmovin Android Player SDK player.
Show me the player
First, let’s get the player up and running. There are some ways to get our Player displayed on an app similar to the basic building block for user interface components called a View.
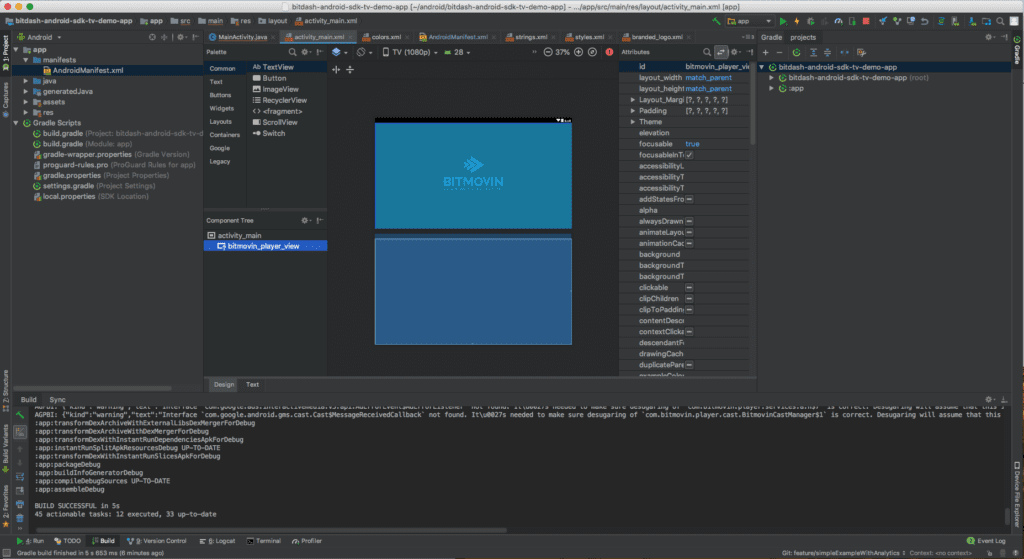
- You can add your View to the Layout XML file as we do in our Sample Demo https://github.com/bitmovin/bitmovin-player-android-samples/blob/master/BasicPlaybackTV/src/main/res/layout/activity_main.xml#L2.
- It is also possible to instantiate the View in your Activity, however, due to Android TV hardware limitations and legacy OS pitfalls, we recommend to add all views using the Layout XML file when possible.I noticed that it instantiating the View from your main Activity is not as stable on hardware with slower CPUs. So even if it is possible, I wouldn’t recommend it as it took me hours to debug it.
- Another option is to use a Fragment, especially if you started building layouts and user interfaces referencing Google’s Android TV examples like browsing content on TV or showing details of a movie with the DetailFragment.Fragments are a modular section of an Activity, which has its own lifecycle, receives its own input events, and which you can add or remove while the activity is running. You can think of it as a “subactivity” that you can reuse. The Bitmovin Android Player SDK also offers the Player as a Fragment and we do also have an example for that. https://github.com/bitmovin/bitmovin-player-android-samples/tree/2d992c76623ae7cd4546c115a3e88597f5fc4f5d/BasicPlayerFragment
To be honest, I had not used fragments before and started with #2 which cost me hours for some painful debugging. So, after learning about Android TV hardware limitations and legacy OS pitfalls, I highly recommend that you stick to #1 and you will first hand, experience the full power of the Bitmovin Android Player SDK player in every case.
Can’t touch this! Show the UI
As I mentioned earlier, the UI might be tricky if you leave it to the default settings because it is optimized for touch screen devices and uses CSS and JavaScript with a WebView to reuse your custom interface.
I say “might” because in the end, this makes it quite easy and just takes seconds to use an interface that is suited for the TV use-case including our Chromecast player.
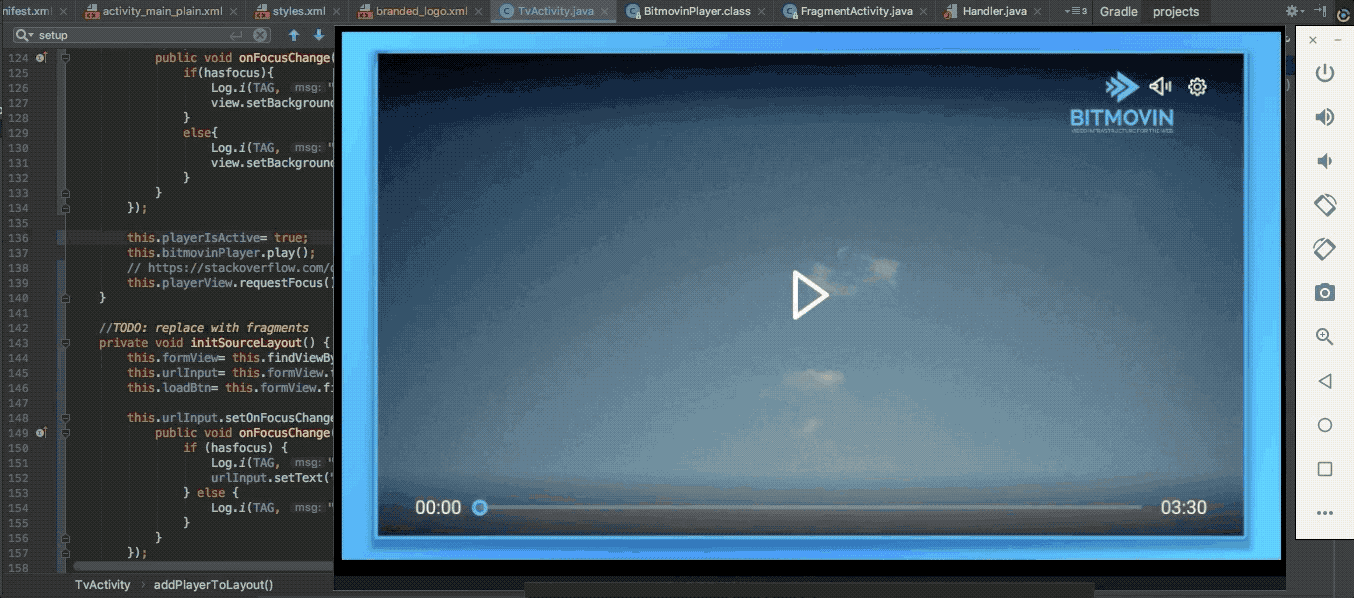
It takes just one line to include a local JavaScript file as the UI component on top of the Bitmovin Android Player SDK. This UI is optimized for being used on TV devices, where no touch screen is available.
See this snippet directly in our demo code
The JavaScript file for this UI you can find in our Repository here.
You can also create your own user interface from scratch like on our web player. Just take a look at this repository on Github and play around a bit with the web player to debug and if you are satisfied, put it in your Android TV application as shown above. As simple as that!
https://github.com/bitmovin/bitmovin-player-ui
User Interaction and Controls
This part needs some work as we cannot leverage the default GUI as TVs are not touch screen.
We can do a lot of customizations here i.e. build fancy new user interactions based on the D-pad controller, gamepads or even keyboards depending on what might get attached to the Android TV hardware.
But let’s keep it simple to start with.
In our BasicPlaybackTV sample, we listened to all dispatched events occurring when a key press starts inside the Activity.
See this snippet directly in our demo code
Now we just have to handle events that push a key down. This can be used for any button pushed down on a keyboard, D-Pad or gamepad. In the
See this snippet directly in our demo code
In the
See this snippet directly in our demo code
ABR or better Adaptive bitrate streaming
As I mentioned before, we are obsessed with playback performance. So, we’ve taken extra care when it comes to adaptive streaming. ABR works out of the box with full support for MPEG-DASH & HLS streaming. Additionally, you can also customize or override the default ABR logic through
Example: By default, ABR logic is optimized for mobile devices and tries to start up with a lower bitrate for the first few segments but with one line of code(shown below), it can be easily tweaked to suit your TV streaming use-cases where you can choose medium to high starting bitrate.
This Snippet can be pasted around this lines in the Code.
Benchmark Using Bitmovin Analytics
In addition to cross platform player SDKs and cloud encoding, Bitmovin also offers an Analytics product which can be used to monitor quality of playback in real time. Developers can also adjust player ABR logic for start up and peak limiting by monitoring actual bitrates consumed by end users to provide the best playback experience while balancing streaming costs.
By using this completely customizable solution, your team can not only set up an analytics interface that fits your business, but they can adapt it as your business develops.
Enabling Analytics in the Bitmovin Android Player SDK is quite easy – even I could do it! 🙂
After including the Lib and getting the license from our dashboard, you include a couple of classes to your android project as described here in our Bitmovin Analytics Collector repository.
Tip: Inside the
Here’s a little method that automatically copies the license into the config object for you:
(So during configuration of the Bitmovin Analytics, I just call
If you already have this set up, just attach the
Ad Integration
Displaying ads using the Bitmovin Android Player SDK is straightforward as well, and we even offer a sample application for this.
To keep it short:
- You just have to create an AdSource object.
- This AdSource is used in the constructor of an AdItem.
- This AdvertisingConfiguration goes straight into the general PlayerConfig to set up the player, as you might already expect if you are familiar with the players from Bitmovin.
If you call
See this in action in our full example
Debugging, Benchmarking, and Logging
For debugging purposes, wireless debugging might be a lot of help with Android TV devices. This is pretty straightforward and the Android Developer page explains this in good detail. For convenience, we’ve included the relevant excerpt below:
- Connect your Android device and adb host computer to a common Wi-Fi network accessible to both. (use an access point whose firewall is configured properly to support adb)
- Connect the device to the host computer with a USB cable.
- Set the Android TV device to listen for a TCP/IP connection on port 5555.
- Disconnect the USB cable from the Android TV device
- Find the IP address of the Android device, for example: Settings > Wi-Fi Settings > Advanced > IP address.
- Connect to the device by its IP address.
- Confirm that your host computer is connected to the Android TV device
List of devices attached
device_ip_address:5555 device - Start debugging!
Logging is straightforward in Android Studio so nothing new to share there, just take a look at: https://developer.android.com/studio/debug/am-logcat
If you want to listen to errors dispatched by the player, just take a look at these few lines of code. https://github.com/bitmovin/bitmovin-player-android-samples/blob/master/BasicPlaybackTV/src/main/java/com/bitmovin/samples/tv/playback/basic/MainActivity.java#L203
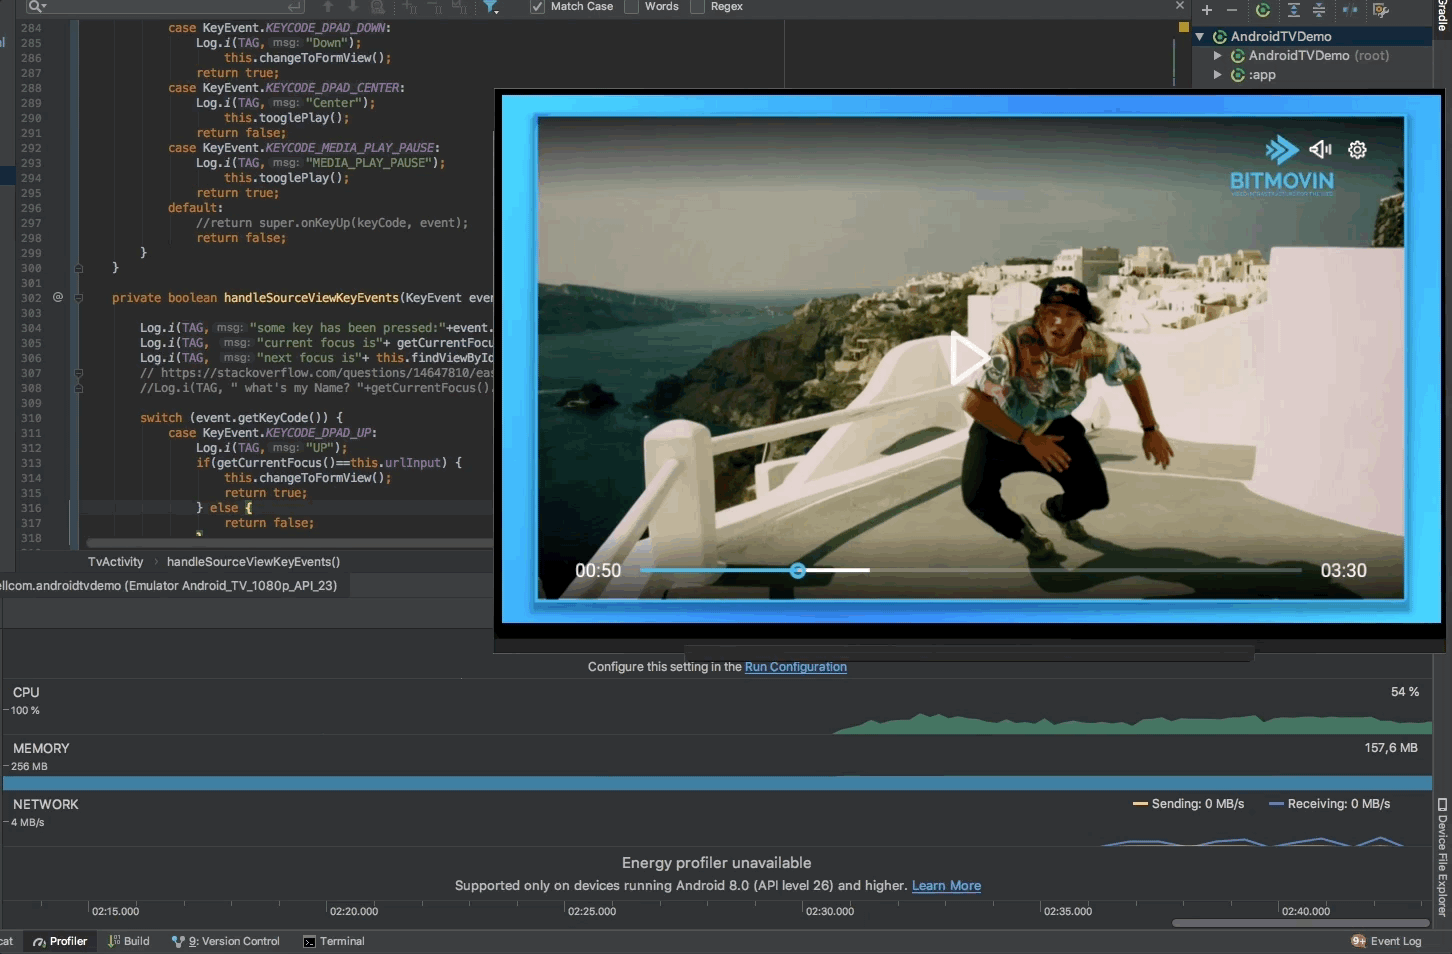
During development, if you want to see what our ABR or Ad Integration is doing, use the built-in Network Profiler in Android Studio. https://developer.android.com/studio/profile/network-profiler
Here you can see how our bitrate adaptation is doing a very good job.
Conclusion
In the end, my final pet project took a couple of hours to set up, but in the process we’ve ironed all those out for you! Hopefully with this article and the new code samples in our repository you can get your Android TV development started in just a few minutes! Code away!
Michael Riha is a product developer for the media content and advertising industry for two decades now. The curiosity he has to look deeply under the hood of digital development in general led to his rare ability to design, and technically implement, digital products with deep technical and strategical knowledge of the market.
The complete package made him the perfect match for Bitmovin as a Senior Solutions Architect.
Do you want to help us make sweet getting started guides like these? We’re hiring!